Uploading Assets

Adding an Asset
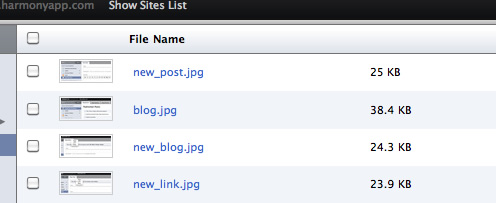
To add an image or file to Harmony to use on your site, go to the ‘Images and Files’ area from the site dashboard. From there, click the ‘Add Files and/or Images’ button. Then, you can select one or more files to upload to your site. Once selected, the files will queue up in the sidebar, and once uploaded, immediately be added to the list of assets in the main window.
For convenience, once an asset is uploaded, you can click the clipboard icon to copy the url to that file or image to your clipboard, so you can paste it into a page or blog post.
Deleting Assets
To delete one or more assets, just check the checkbox next to the file name, then click the ‘Delete’ button on the bottom bar. When confirmed, your assets will be deleted immediately.
Resizing Images
To create an image size, from the main admin page, go to Settings > Image Sizes. Sizes can be created by a specified width, height, a box to fit inside of, or an exact size to make the image. The size is then named and referenced in your code as:
<img src="{{ item.data.photo | image_size_url: 'small_photo' }}">
Or it can be used in a page’s text area by finding the image from the sidebar and clicking the drop-down clipboard menu. This will give you a list of the created image sizes on the account. Depending on the size selected, the link to the image will be provided.
CDN & Speed
We are using a Content Delivery Network (CDN) for many assets. This lets us serve assets from fast servers that are geographically close to your visitors. When you upload new assets, you’ll see them using a URL containing cdn.harmonyapp.com indicating they’re served by our CDN (powered by Amazon CloudFront).